Introduction
It can be difficult to represent a time lapse or other series of photos as a single still image.
One method of creating a single image from a series of time lapse images is to 'stack' the images. This is as it sounds, the images are layered ontop of one another so as to produce a single image which shows any movement through the frames.
The following will explain how to process a set of images you have already captured using freely available software (instructions on how to download are below).
You can also download the same set of images I took which are used in this tutorial. If you do not have your own set of images you would like to stack, this is a great way to follow along.
Download a free copy of the images used in this tutorialThe Free Software - StarStaX
We will be using some great free software by Markus Enzweiler called StarStaX. You can download it for PC, Mac and Linux here: http://www.markus-enzweiler.de/StarStaX/StarStaX.html
Once you have the software downloaded and installed on your machine go ahead and launch it.
Load your images
You will be greeted by a window similar to the one below when you first open the StarStaX program after installing it.
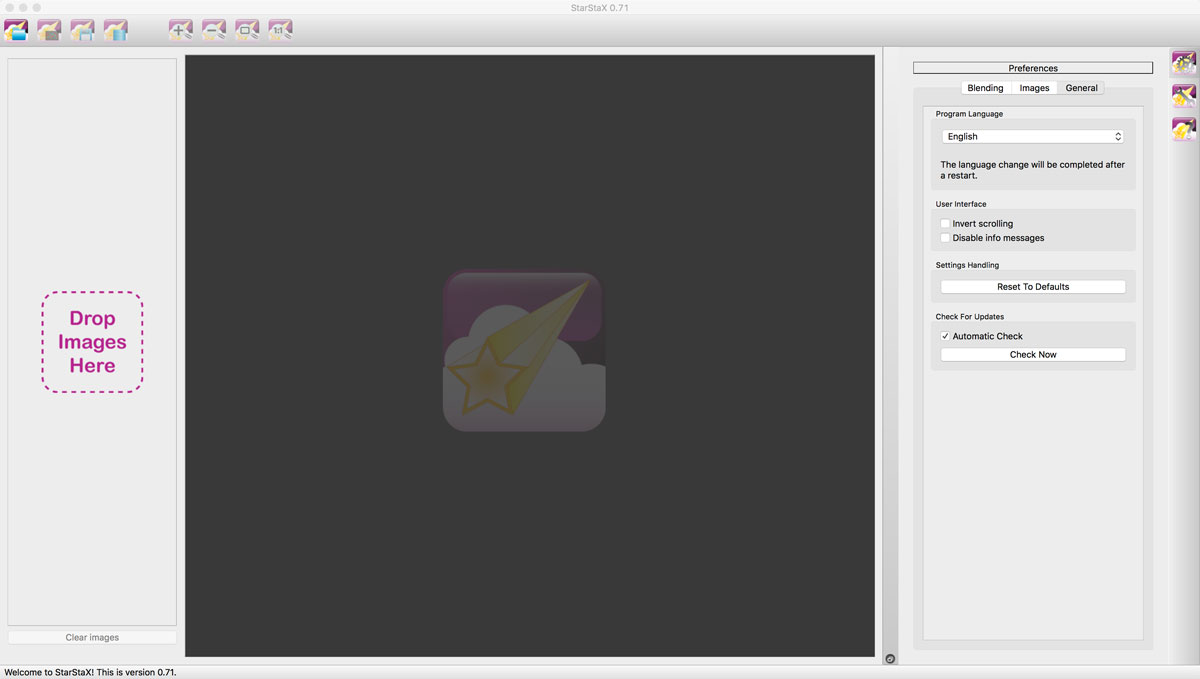
The first thing we need to do is select the images from your time lapse that the software will then use to create the stacked image from. To do this, you can either click the leftmost icon in the main tool bar ('load images') or drag and drop your images onto the area labelled “Drop Images Here”.
![]() This is what the 'Load images' icon looks like.
This is what the 'Load images' icon looks like.
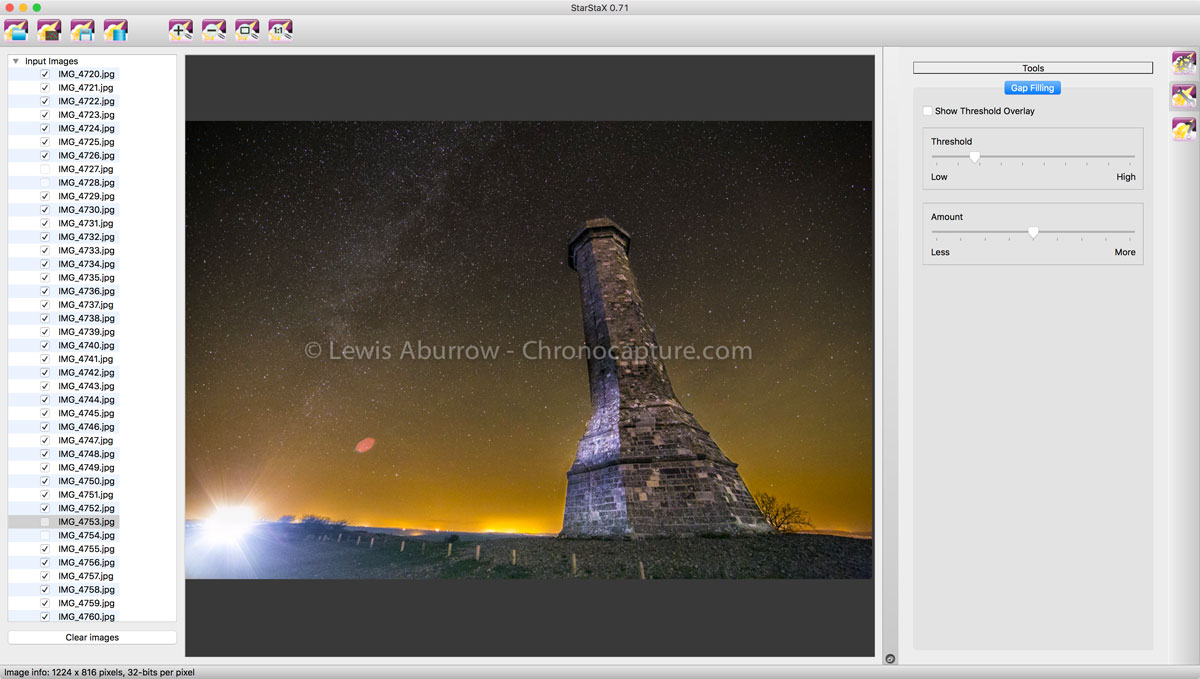
We can now see a list of all the images that were successfully imported on the left hand side of the main window.

The main window in the centre of the program will show us a preview of any image we have selected on the left, or when we begin creating our stacked image, it will show us the progress of the images creation.
The right hand panel is where we can configure the settings to achieve the look that we want. We’ll cover this in more detail a bit later.
Remove unwanted images
For now, the default settings will be fairly close to what we require - so let’s run the program once to create the first preview. To do this, click the ‘Start Processing’ button, which is the fourth icon along the top main bar.
![]() This is what the 'Process images' icon looks like.
This is what the 'Process images' icon looks like.
As the program works through the photos you will see preview appear in the main window.

This first run has shown us an image with areas which are overly bright. This is because whilst capturing the photographs needed for this time lapse a few cars passed through some of the frames with their head lights on. Lets remove these from the selection that StarStaX is using, this will help to improve the final image.
Single click on the title of the first image in the list of images shown in the left hand pane. (You may need to scroll up the list). Click though them one at a time until you find the images which have been effected by the car headlights or other distractions. These image can then be excluded by removing the tick in the checkbox adjacent to the filename of that particular image.
The following images are ones which I chose not to include in the final image:
- IMG_4727.jpg
- IMG_4728.jpg
- IMG_4729.jpg
- IMG_4730.jpg
- IMG_4753.jpg
- IMG_4754.jpg
- IMG_4849.jpg
- IMG_4850.jpg
Refining the settings
Now we can re-run the processing by pressing the ‘Start Processing’ icon again.

The image has improved. To further refine the image we can begin to adjust the settings found in the ‘Gap Filling’ pane. If you cannot already find this to the right hand side of the main preview area you can click on the ‘Tools…’ icon (the one with a silver spanner on it) on the far right to open it.
![]() The 'Tools' icon.
The 'Tools' icon.
The Gap Filling tool has two sliders, ‘Threshold’ and ‘Amount’. The Threshold slider controls how bright pixels need to be in the image for gap filling to be applied. The Amount slider effects how much filling is then applied to those pixels which have exceeded the brightness threshold.
As the series of images we are using in this tutorial contain many stars of varying brightness I have adjusted the sliders for this project so that only the brightest stars would pass the 'threshold' setting and have any gaps in their trails filled. I have also set the 'amount' slider so as that any filling applied will be kept to a minimum. This is to help create a simpler, clearer and cleaner image.

For the sake of illustration, the below image shows the result when the sliders are set with a low threshold and high amount of gap filling on the left, and the right hand side shows a high threshold combined with a low amount of filling.


Saving the image
After you are happy with any adjustment you would like to make with the sliders, it's time to save your masterpiece. This is as simple as clicking the third icon ('Save as...') along from the left in the top toolbar, choose a location and enter the name for your image and press 'Save'. Job done, well done!
![]() The 'Save as...' icon.
The 'Save as...' icon.
Further work
And that is the bulk of the work done. You can choose if you wish to take the image into an editor of your choice such as Adobe Photoshop or GIMP and remove other elements that you may not wish to include. For example, in my image I chose to remove the light from a head torch in the bottom left.
If you have any questions, comments or want to share your pièce de résistance please do below, I'd love to see them:
Lewis Aburrow
Written on Thursday, February 18, 2016